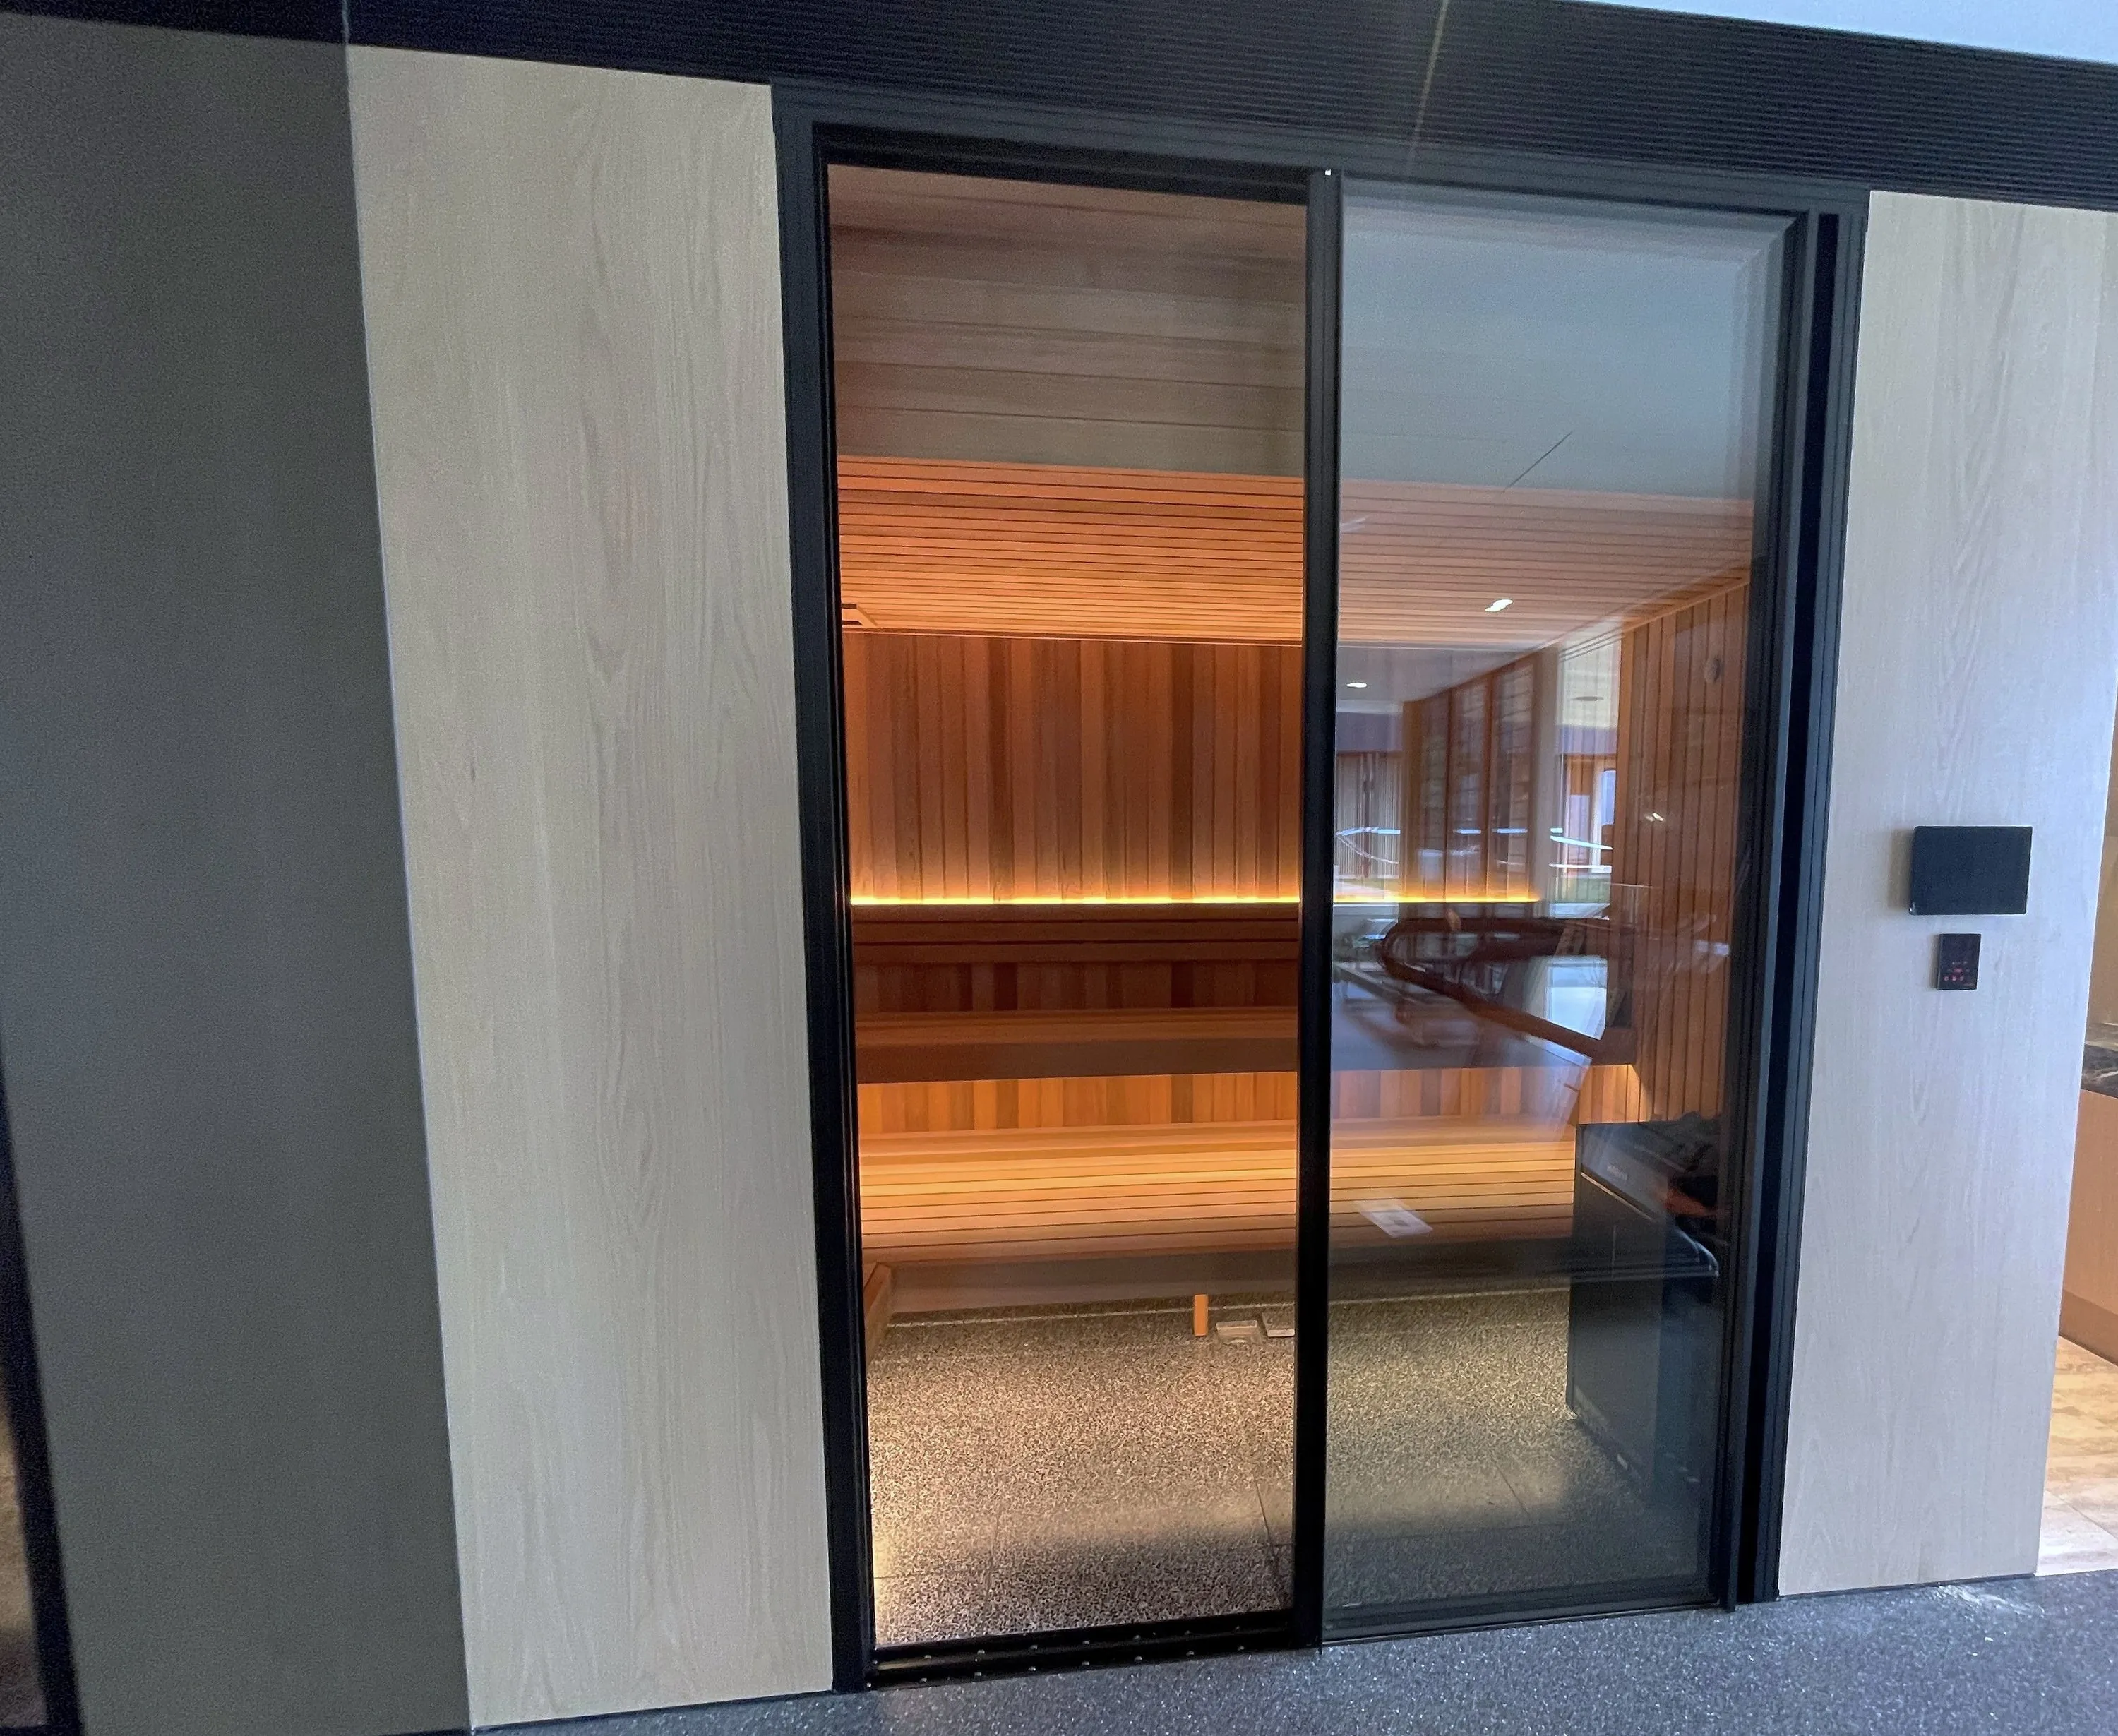
The short answer
Most good home saunas share the same fundamentals:
- A modest ceiling and benches set high, so you sit in the hottest air.
- Bench length matched to the number of people, at roughly 600 mm per person.
- A heater sized to the room, including an allowance for any glass or masonry.
- Ventilation designed to the chosen heater’s documentation.
- A dedicated electrical supply, designed by a licensed electrician.
- An outward-opening door, an easy-to-clean floor and a plan for drying the room after use.
Settle the location and size early. Nearly every other decision depends on them.
Start with how it will be used
Before choosing a location or a size, picture a normal session. How many people will usually use it at once, and how many at most? Will it be a daily routine for one or two, or a room for family and friends? Early morning before work, or long evenings? Indoors as part of a bathroom suite, or out in the garden?
The answers drive most later decisions: bench length and layout, heater size and heat-up, whether a glass front suits the setting, and how close the room needs to be to a shower.
Plan the whole circuit, not just the hot room
Most people alternate time in the heat with time cooling off. A sauna works best when the spaces around it are planned with it:
- A shower close by, ideally a few steps from the sauna door, for before the first round and between rounds.
- Somewhere to cool down and sit: a bench outside the door, a covered deck or a quiet corner of the bathroom. An outdoor sauna needs a level, non-slip path to it.
- A place for towels and water, kept out of the hot room.
- A plunge or cold shower, if you want one. A cold plunge is a separate piece of equipment with its own space, water and power needs, so plan it at the same time if it is part of the idea.
Why this matters: a beautifully built sauna with nowhere to cool off, or a long walk to the shower, gets used less. Getting the circuit right is usually a layout decision, and it costs far less at planning stage than afterwards.
Where a sauna can go
A traditional sauna is a self-contained, insulated room. That makes it adaptable to many places in and around a home.
- A spare room, walk-in robe or under-used space. Indoor saunas need a proper insulated wall and ceiling build-up, a ventilation path and a power supply, but they are protected from the weather.
- Bathrooms and ensuites. A popular choice because the shower is close by. Integration with wet-area waterproofing, bathroom exhaust and electrical zones needs to be designed together.
- Pool houses and cabanas. A natural pairing with a pool. See the section on pool-side saunas below.
- Outdoors. A freestanding cabin or pavilion needs a level, well-drained base, weather protection, an electrical supply run and possibly building approval. Cold or exposed rooms also take longer to heat.
Apartments and townhouses
A sauna in a unit or townhouse is often possible, but check two things before you plan around it. First, body corporate approval: work that affects common property, the building’s services or its appearance generally needs the body corporate’s consent under its by-laws, so ask early and allow time. Second, capacity: the unit’s electrical supply, the floor’s ability to carry the room and its heater, and somewhere for ventilation air to go. Your body corporate manager, a licensed electrician and, for upper floors, an engineer can confirm each.
The Queensland climate
Queensland’s heat and humidity affect detailing rather than whether a sauna is feasible. Two points matter early:
- Moisture control in the walls. Much published sauna construction guidance was written for colder, heating-dominated climates, and sources disagree on how vapour control should be arranged in a humid climate. The wall build-up should be designed for the specific site and climate rather than copied from an overseas manual.
- Coastal sites. Heater manufacturers warn that humid, salty air can corrode the heater’s metal surfaces. On coastal sites, think about where the heater and fittings sit and how the room is ventilated and dried.
How big, and for how many people
Sauna capacity is set by bench length, not floor area.
Bench heights, depths and the way heat layers in the room are covered in sauna benches and heat layers.
| Dimension | Typical guidance | Why it matters |
|---|---|---|
| Bench length per person | About 600 mm | A comfortable seated width for an adult |
| Bench length to lie down | About 1.8–2.0 m or more | Allows one person to recline fully |
| Bench depth | At least 500 mm; 600 mm or more to lie down or lift your feet | Room to lean back and change position |
| Upper bench to ceiling | About 1,100–1,200 mm, generally no more than 1,200 mm | Keeps your head and shoulders in the hottest air |
| Ceiling height | Commonly about 1,900–2,300 mm; varies by manufacturer and heater | Taller rooms are harder to heat evenly |
Two tiers of benches are common, adding seating without enlarging the room.
Why a lower ceiling is better
Heat rises and settles in layers. The hottest air sits at the ceiling, and temperatures drop noticeably towards the floor. The heater’s temperature sensor is also mounted high, near the ceiling above the heater.
In a room with a tall ceiling and low benches, bathers sit below the hot layer while the sensor tells the heater the room is already warm. The extra volume also means a larger heater and a longer heat-up. Manufacturers therefore recommend limiting ceiling height and keeping the distance from the upper bench to the ceiling to around 1,200 mm or less. Exact limits differ between brands and models, so the chosen heater’s manual sets the final figure.
Retail 'person' ratings
Pre-built cabins are often labelled “two-person” or “four-person” on the assumption of shoulder-to-shoulder seating. Working from about 600 mm of bench per person gives a more realistic picture of comfortable capacity.
Temperature and humidity
A traditional sauna runs hot and relatively dry:
- Temperature: heater makers commonly suggest about 65–80 °C (Harvia’s Cilindro manual gives about 65–75 °C), while Finnish reference practice runs higher, at about 80–100 °C at head height. The heater’s manual sets the operating limits.
- Humidity: usually low, in the region of 5–20% relative humidity. It rises briefly each time water is thrown on the stones, producing the burst of steam known as löyly.
- Softer sessions: some heaters include a built-in evaporator for lower-temperature, higher-humidity sessions. One manufacturer describes a “soft sauna” mode at about 45–65 °C and 30–65% relative humidity.
The maximum temperature is set by the heater’s thermostat and safety limiter. Always use the sauna within the manufacturer’s operating limits.
Heat-up time
Harvia gives about an hour for a correctly sized electric heater in a properly insulated room to reach bathing temperature, with the stones reaching temperature at about the same time. Other makers’ figures vary by model.
Heat-up takes longer with:
- large areas of glass, tile or stone
- a cold starting temperature, such as an outdoor room in winter
- a heater with a very large stone load, which some manufacturers quote at 60–75 minutes
- an undersized heater, or stones packed too tightly
- poor ventilation
Some heaters are designed to hold their stones hot on a low standby setting so the room is ready in minutes. The trade-off is continuous standby energy use.
Power
Heater output is matched to the room’s volume, with corrections for glass and masonry. Home sauna heaters commonly range from about 3 kW for a very small room to around 10–11 kW for a larger family room. Commercial heaters go considerably higher.
A sauna heater is a large fixed appliance. It needs a dedicated circuit, designed by a licensed electrician to the heater manufacturer’s data, and that may mean checking switchboard capacity. Australian supply is nominally 230 V single-phase and 400 V three-phase (still often called 240 and 415 V). Some smaller heaters come in single-phase versions, depending on the model, while larger heaters commonly need three-phase. In Queensland, the distributors’ Queensland Electricity Connection Manual (QECM, Version 4) may also limit how much some switched single-phase equipment can draw, so a heater sold as “single-phase” is not automatically suitable for your house: the electrician checks the selected heater against those rules, your supply and the manufacturer’s data. Controls may be separate units that also need a location and cabling. Raise power early in planning, particularly in an older home.
Compliance and licensed trades
Electrical supply, protection, cabling and the location of controls and fittings in and around a sauna are for a licensed electrician to design and install under the Australian wiring rules (AS/NZS 3000) and the heater manufacturer’s installation manual. Nothing in this guide is wiring advice.
Ventilation
Every heater manufacturer requires sauna ventilation. It does several jobs:
- supplies fresh air for the people in the room
- moves heat around so the room warms more evenly
- protects the heater, since too little air can cause overheating or trip the safety cut-out
- dries the room and structure after use
Manufacturers’ approaches differ. Some place the fresh-air inlet low near the heater and the exhaust high on the opposite side. Others put the exhaust low, away from the heater, and may require a fan in some layouts. Published air-change rates also vary: Harvia asks for about six changes per hour, and long-standing Finnish guidance gives about three to six. All agree that incoming air must not blow onto the temperature sensor, and that more ventilation is not automatically better, because too much air slows heat-up and dissipates the steam.
The practical point for homeowners is simple: the final ventilation design follows the heater you choose, coordinated with the house’s own ventilation and any bathroom exhaust.
Glass walls and doors
Glass fronts and full glass walls are now common in contemporary saunas, and they can work well with a few rules in mind.
- Doors open outward and do not lock. Manufacturers require outward-opening sauna doors held by magnetic, friction or spring catches rather than a lock or latch.
- Use tempered safety glass. Purpose-made sauna doors use tempered safety glass. One widely used range uses 8 mm. Glass sections should be well sealed so they do not disturb the ventilation design.
- Glass affects heater size. Glass loses far more heat than an insulated timber wall, so manufacturers add extra “virtual” volume when sizing the heater. The allowance varies by manufacturer. One widely used heater range adds about 1.2 m³ of room volume for each square metre of glass or masonry, so a 10 m³ room with a glass door sizes more like a 12 m³ room. Other manufacturers use different factors. Final sizing always follows the selected heater’s documentation.
- Glass slows heat-up. Expect a heavily glazed room to take longer to reach temperature.
Our guide to sauna glass and doors works through the heater-sizing effect with examples, and covers hinges, gaps, sun and privacy.
Compliance and licensed trades
Safety glazing in Australia is governed by the National Construction Code and AS 1288. The glass type, thickness and fixing for a hot room should be confirmed by the glazier and glass supplier for the project.
Floors and floor wastes
The floor needs to be durable and easy to clean.
- Floor finish. Several manufacturers recommend a ceramic or stone floor, and one suggests dark grout because fragments from the stones can stain. The floor under the heater must be heat-resistant. Views on timber floors and duckboards differ. Some manufacturers advise against them for hygiene reasons, while others accept timber decking but note it is harder to clean.
- Whether a floor waste is needed. Manufacturers genuinely disagree:
- One says a drain is not required but is convenient, particularly in commercial saunas.
- Another recommends a floor drain in new construction, especially for commercial rooms.
- A third does not require one in private saunas and prefers a channel leading to a trapped drain outside the hot room, because a trap inside a hot room that is rarely wetted can dry out and smell.
A reasonable approach is to treat a floor waste as strongly worth considering where the sauna sits within or beside a wet area, or where the floor will be washed down. A small, dry residential sauna with a suitably detailed, non-absorbent floor may not need one. Steam rooms are different: they always need a floor waste.
Compliance and licensed trades
Any floor waste is plumbing work for a licensed plumber under AS/NZS 3500. Whether a sauna floor forms part of a wet area under the National Construction Code and AS 3740, and how far waterproofing must extend, is decided by the designer and building certifier for each project.
Saunas beside pools
A sauna and pool are a natural combination. A few points need extra attention.
- Never use pool or spa water on the stones. Use clean household water only. Chlorinated water can damage the heater, and one manufacturer warns it can release chlorine gas.
- Humid surroundings. A pool room or pool-side location is humid. Think about where the heater, controls and fittings sit, and how the sauna and the pool room are each ventilated.
- Wet-area detailing. Plan slip-resistant surfaces, drainage between the pool and the sauna, and waterproofing where the sauna adjoins wet floors. The placement and protection of electrical equipment in these zones is for the licensed electrician.
Compliance and licensed trades
In Queensland, a sauna near a pool must not compromise the pool safety barrier. Pool barrier requirements, and whether an outdoor sauna needs building approval, should be confirmed with your building certifier or a pool safety inspector.
What a custom sauna project involves
Every project is different, but the stages are broadly consistent.
- Consult. An initial conversation about how you will use the sauna, how many people, the look you want, the location and the budget, with plans or photos of the space.
- Design. Room layout, benches, heater, glazing, timber and lighting, developed together because each affects the others, and checked against the space, structure, power, drainage and ventilation path.
- Specify. Drawings and a specification that the builder, electrician, plumber and certifier can work from, plus approvals where needed.
- Supply. Heater, controls, timber, door and glass are ordered and prepared for the room.
- Construct. The builder’s preparatory work and licensed electrical and plumbing work, then construction of the sauna itself.
- Commission. The heater and controls are tested, and you are shown how to operate, dry and care for the room.
How we approach it
The earlier a sauna enters the design, the easier it is to get the ceiling height, power, ventilation and drainage right. If you are planning a renovation or a new home, talk to us about where a sauna could go and what it would involve. Architects are welcome to bring us in at concept stage.