Why this checklist exists
We are not aware of an Australian design standard or guide dedicated to saunas or steam rooms, and NATSPEC has no dedicated worksection for them. Project teams usually work from overseas manufacturer manuals and adapt bathroom details. That gap is where most problems begin: ceilings set at the wrong height, no reinforcement behind a heavy heater, no floor waste where the generator discharges, or a supply that is too small.
This guide is a design-stage reference for architects, designers and builders. It explains principles and typical allowances. The selected equipment’s installation manual, the project engineer, licensed trades and the building certifier control the final details.
When to involve a specialist
Equipment choice drives almost every other decision, so the earlier it is settled, the less redesign follows.
| Project stage | What the specialist contributes |
|---|---|
| Concept and feasibility | Room size and capacity, clear height, plant space, early power and water needs |
| Schematic design | Provisional heater or generator selection; loads and service needs issued to consultants |
| Design development | Wall and ceiling build-ups, rough-in positions, ventilation and drainage coordination, certifier pathway discussion |
| Contract documentation | Specialist specification section and shop drawings |
| Framing and rough-in | Set-out check; rough-in inspection before linings |
| Linings and wet works | Install or supervise; hold points for membranes and vapour control |
| Fit-off and commissioning | Equipment installation, settings, handover documents and training |
Room dimensions and finished internal size
Design from finished internal dimensions, not framing. Every wall and the ceiling lose the thickness of the build-up, and benches, backrests and the heater guard take more space again.
Sauna height. Manufacturers set clear heights per model, and they vary. As examples, one widely used heater range describes 2100–2300 mm as the usual sauna height, with the upper bench no more than 1200 mm below the ceiling; one commercial heater needs at least 1900 mm, another at least 2100 mm. Excessive ceiling height is harder to heat, so taller is not better. Clearances above and around the heater are also model-specific: across Harvia’s range, minimum room heights run from 1900 mm to 2200 mm, and the largest commercial heaters need up to about 1500 mm clear above them. A guard rail does not reduce the clearances in the manual’s figure.
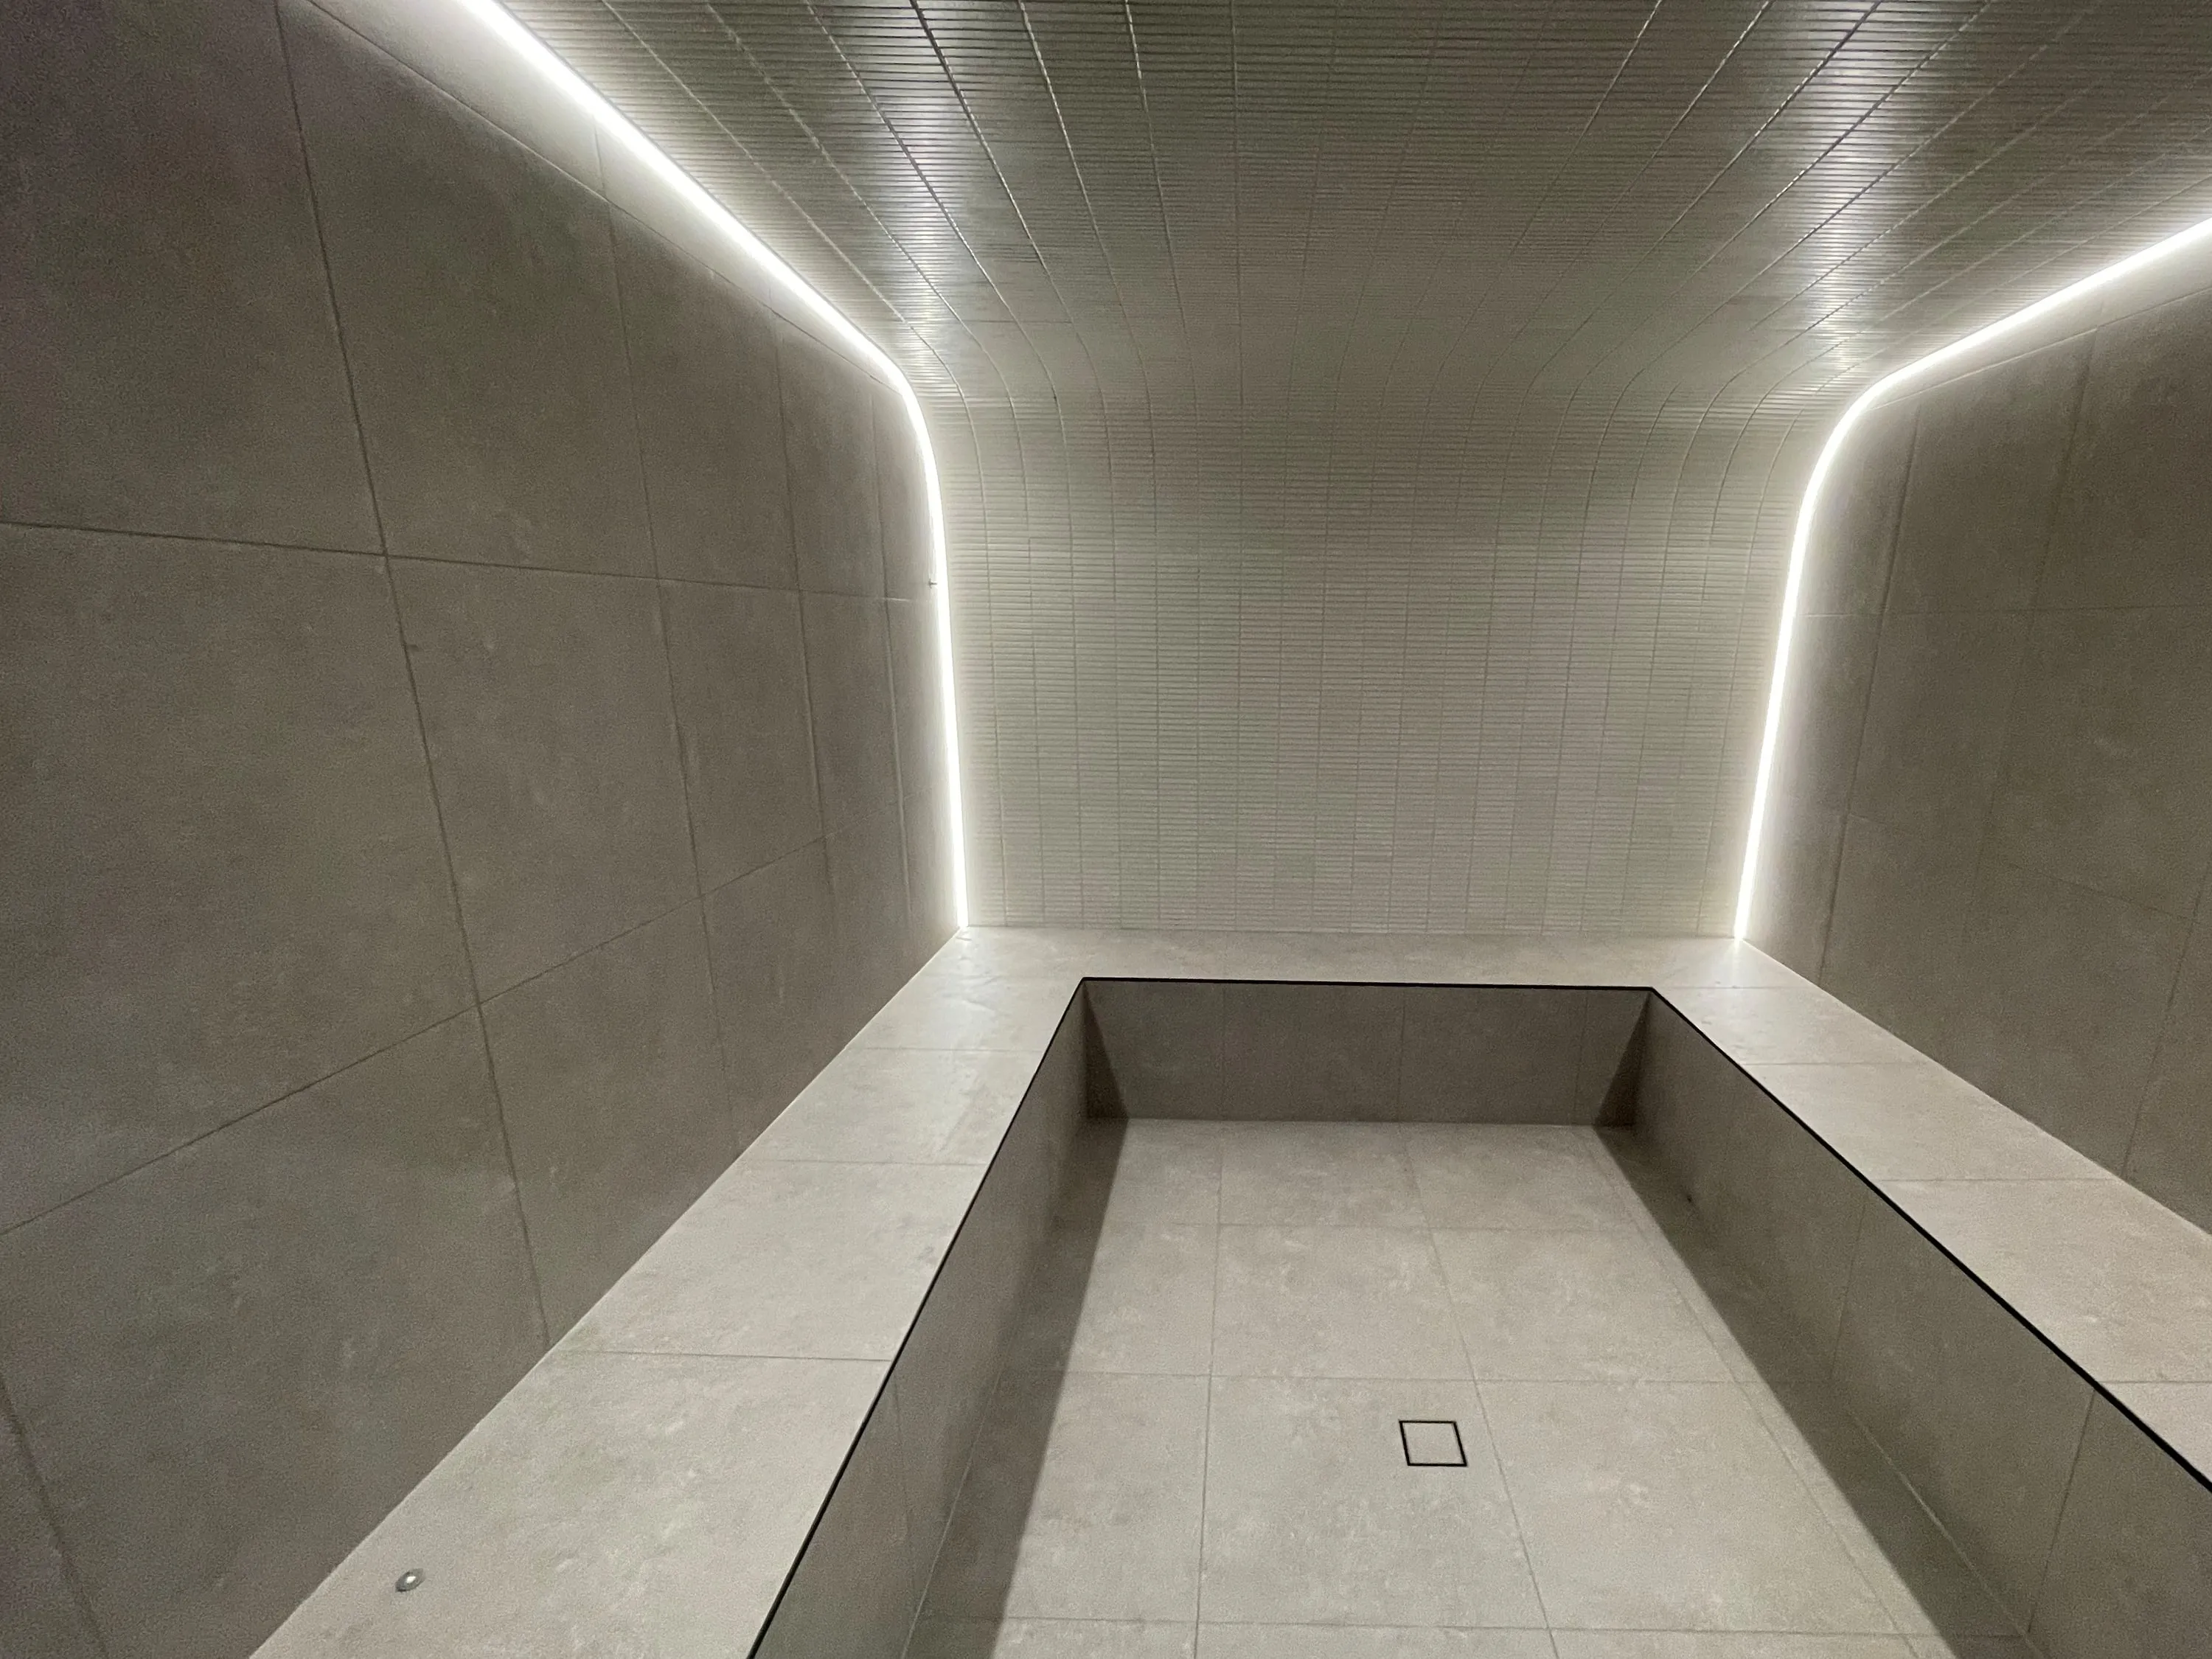
Steam height. Steam rooms need a sloped or curved ceiling so condensate runs to the walls rather than dripping on bathers. Allow for this geometry in the ceiling zone above.
Benches. A common planning allowance is about 600 mm of bench length per bather, with a top bench at least 500 mm deep (Harvia), or 600 mm or more to lie down.
Indicative only
Sources give layer thicknesses rather than a total wall allowance. One heater manufacturer shows a 12–16 mm lining on a ventilated gap of about 10 mm; one North American specialist builder uses 25 × 50 mm battens and tongue-and-groove lining over the stud face. No reliable total was found for steam-room walls, which depend on the board or mortar-bed system chosen. Confirm the allowance per project once the system is selected.
Sauna wall and ceiling build-up
What follows is published manufacturer guidance and general practice, not one fixed specification. With a Harvia heater, Harvia’s documents are the reference; with any heater, the selected model’s manual governs. In principle, from the structure inwards:
- Framing, with noggins and backing placed for the heater, benches, backrests and any wall-mounted controls. Timber treatment and termite management are covered below.
- Insulation in the frame. Harvia’s heater manuals call for 50–100 mm of mineral wool, and its planning guide draws 100 mm in both walls and ceiling. Another heater maker recommends at least 50 mm in the walls and 100 mm in the ceiling. The ceiling matters most because heat collects there. At least one specialist builder advises against foam insulation in sauna walls because of the temperatures; check any insulation’s rating with its manufacturer.
- Vapour-control layer. Harvia’s planning guide specifies aluminium paper with the foil side facing the room. Joins are overlapped generously (Harvia gives no overlap figure) and every seam is taped with aluminium tape. The bottom edge is taped down onto the tile underlay board, the top of the tiles or the waterproofing, and the ceiling is covered and taped as well. Other makers use a carton or foil laminate, foil side in. Manufacturers differ: one manufacturer advises against any foil or plastic barrier and places the insulation directly behind the lining. Avoid creating a double vapour barrier with another low-permeance layer elsewhere in the wall, particularly on external walls in humid climates. Confirm the vapour-control approach per project against the selected heater’s documentation and the wall’s position in the building.
- Battens and air gap. Harvia’s planning guide draws ventilation laths of about 22 × 50 mm over the foil, and its heater manuals recommend about a 10 mm gap behind a 12–16 mm panel. Another maker asks for at least 20 mm. The battens keep lining fixings from puncturing the foil, and the gap lets the back of the lining dry out.
- Lining of untreated, low-resin timber, fixed through the tongue with concealed stainless fixings. Avoid plywood, particleboard, paints and varnishes on the hot side.
| Layer | Harvia (planning guide and heater manuals) | Another heater maker | One manufacturer that differs |
|---|---|---|---|
| Insulation | 50–100 mm mineral wool; 100 mm drawn in walls and ceiling | At least 50 mm in walls, 100 mm in ceiling | At least 45 mm mineral wool (95 mm in public saunas), directly behind the lining |
| Vapour control | Aluminium paper, foil side to the room, generous overlaps, all seams taped with aluminium tape, taped down to the waterproofing | Carton or foil laminate, foil side in | No foil or plastic barrier |
| Gap behind lining | About 10 mm; laths about 22 × 50 mm | At least 20 mm | No gap behind the lining |
| Lining | 12–16 mm panel | Panel | 12–15 mm timber, with no plasterboard or particleboard directly behind it |
Why this matters: the foil only controls vapour if it is continuous, so an untaped seam or an unsealed cable entry lets moist air into the insulation, where it can condense. Because published build-ups genuinely differ, mixing details from two makers can leave a wall that suits neither.
Seam tape. Harvia sells a 50 mm aluminium tape for this job but publishes no temperature rating for it, and none of the other manufacturers we reviewed rates its tape either. If a different tape is used, its service temperature has to come from the tape’s own maker.
Framing timber and termites
- Termite management is a whole-building decision. Subterranean termites occur throughout Queensland, and the introduced West Indian drywood termite has damaged timber homes here. Under NCC 2022 Housing Provisions Part 3.4, Class 1 and 10 buildings in termite-prone areas need termite risk management where primary building elements, including wall framing, are susceptible to attack. Timber counts as not subject to attack if it is naturally termite-resistant (AS 3660.1 Appendix C) or preservative-treated (Appendix D). AS 3660.1 Termite management – Part 1: New building work sets out subterranean termite management systems for new building work. A sauna inside a house sits within that system, so the builder and certifier set the approach for the whole building: treated or resistant framing, physical or chemical barriers, or steel framing.
- Hazard classes. Preservative treatment is specified under AS/NZS 1604.1:2021 Preservative-treated wood-based products – Part 1: Products and treatment. The Queensland Government describes H1 and H2 as being for well-ventilated places, off the ground and protected from the weather. H1 protects against insects other than termites; H2 also targets termites. WoodSolutions lists H2 or H2F treated pine for framing in termite areas. Treated timber carries a brand showing its hazard class.
- Treated framing behind a sauna lining. None of the heater manufacturers we reviewed says whether preservative-treated framing may sit behind a sauna lining. None publishes data on treated timber at the temperatures inside a sauna wall either. Two North American sauna suppliers specify ordinary dry, construction-grade framing, and one calls for pressure-treated timber only for plates against concrete. That is a North American comparison, not an Australian rule. In practice, the designer, builder and certifier choose framing that meets the building’s termite requirements. Where treated framing will sit behind a hot room, ask the treatment or timber supplier about heat exposure. The lining, benches and backrests stay untreated.
Why this matters: a sauna wall framed differently from the rest of the house can leave a gap in the building’s termite protection. Leaving the framing choice until site can also force a late trade-off between termite protection and the heater maker’s build-up.
Steam room build-up
A steam room runs at high humidity almost continuously, which pushes vapour outwards through the enclosure. It is not a shower with a door. In principle:
- Substrate: a waterproof foam-core board system, or a mortar bed on masonry or concrete, or backer board on studs.
- Vapour control: a continuous low-permeance layer across walls, ceiling and floor. Many shower membranes are vapour-permeable, so check the product’s vapour data and steam-room approval. Some systems need a secondary retarder; others warn against one. Use one manufacturer’s designed system.
- Insulation to walls and ceiling, including internal walls.
- Ceiling slope. Sources differ: tile-industry details use about 2 inches per foot (roughly 1:6), while one generator manufacturer asks for at least 15°. Follow the selected system and equipment.
- Finishes: tile or other non-porous surfaces with heat-rated adhesives and grout. One manufacturer advises against timber inside steam rooms and against porous natural stone.
- Temperature limits: some boards and membranes have a maximum service temperature. Check it against the generator and steam outlet.
Structural allowances
Sauna heaters, steam benches and glass concentrate weight. Issue loads to the structural engineer early, especially on suspended slabs and timber floors.
| Item (manufacturer example) | Indicative weight |
|---|---|
| Large floor-standing sauna heater (Harvia Legend PO165) | About 33 kg heater plus about 220 kg of stones, on a 600 × 600 mm footprint |
| Wall-mounted steam generator (Harvia HGX) | About 9 kg empty, 13 kg full |
| Large commercial steam generators (another maker) | Shipping weights from about 104 kg to 283 kg |
Tiled steam benches built on mortar beds are heavy; foam-board benches are lighter. Large frameless glass panels add load at the floor and fixings. Weights depend on the product, so use the selected manufacturer’s data.
Doors and glazing
- Doors open outwards, with no lock. Heater manufacturers allow magnetic, friction or spring catches. Provide a handle on both sides.
- Rough openings depend on the door. Harvia’s standard glass doors have frames from 690 × 1890 mm to 890 × 2090 mm, and the opening height also depends on the gap set under the door. See the frame and opening table in sauna glass and doors.
- Glass in or beside the door supports supervision, which matters in commercial rooms.
- Sauna glass costs heater capacity. Manufacturers add notional room volume for glass, tile and masonry; Harvia adds about 1.2 m³ for each square metre, and other makers use from about 1 m³ upwards. In steam rooms, glass and heavy finishes such as stone and concrete also call for more generator output, mostly because the room starts from cold. Glass also gets hot to touch.
- Steam doors: manufacturers differ on whether to fit a gasketed seal or leave a gap under the door. Resolve this with the selected generator’s documentation.
- Glass type, thickness and installation are for the glazier, door manufacturer and certifier.
Floors and floor wastes
- Sauna: an impervious, non-slip floor, typically tile with dark grout because stone particles stain. Sources differ on drainage: some recommend a floor drain, especially in commercial rooms, while one manufacturer prefers draining to a waste outside the room so a dry trap cannot let odours in.
- Steam: a drain inside the room for condensate and cleaning, on a floor laid to fall, with an anti-slip finish.
- Falls: where a floor waste is installed, the NCC 2022 Housing Provisions and Volume One set wet-area floor falls to the waste between 1:80 and 1:50. The NCC does not name saunas or steam rooms, so the certifier confirms whether these apply. Overseas steam details are often slightly steeper. Do not copy overseas details without checking them with the hydraulic designer and certifier.
- Plant room: steam generators need a floor drain in the installation room as well.
Electrical considerations
These are considerations only. All fixed wiring is designed and installed by a licensed electrician under AS/NZS 3000:2018 Electrical installations (known as the Australian/New Zealand Wiring Rules) and the manufacturer’s data.
- Dedicated supply. Australian supply is nominally 230 V single-phase and 400 V three-phase (often still called 240/415 V). Some smaller heaters come in single-phase versions, depending on the model; larger heaters commonly need three-phase, and larger outputs may need a separate contactor or power unit. Use the voltage and phase exactly as published for the selected model.
- One electric heater per sauna room with Harvia heaters, including the commercial models. A large room gets one larger heater, not two smaller ones. Some other manufacturers allow several heaters under conditions, so the selected heater’s manual governs.
- Power and contactor units. Where the output is more than the control can switch, an external power unit or booster carries the load. Harvia’s current power units switch 11 kW or 17 kW, with a booster for more. Allow a dry wall position outside the hot room; Harvia’s Xenio power unit must not be recessed into a wall, because heat builds up behind it.
- Isolation and controller locations outside the hot room, in a dry position. Steam control panels go outside the steam room.
- Remote and timer start. App, timer and remote starts need a safety device: a heater cover sensor above the heater that detects covering, or a magnetic door switch, unless the heater is certified to the covering test the control’s manual names. Plan the door switch and its cable before the door frame goes in.
- Residual-current protection (safety switches) is for the licensed electrician to determine under AS/NZS 3000 and the manufacturer’s instructions; issue the selected heater’s manual early.
- Control and sensor cable routes. Conduit from the room to the controller and contactor, run before lining. Sensor cable lengths are fixed by the manufacturer, so controller distance matters.
- Sensor positions follow the heater or generator drawing exactly. In a sauna, keep the sensor out of the supply-air stream: Harvia specifies at least 1000 mm from an omnidirectional supply vent, or 500 mm from a vent blowing away from the sensor. In a Harvia steam room, the sensor goes on the ceiling or on the wall at 1700–3000 mm, away from doors and vents. A misplaced sensor makes the room run too hot or too cool and can trip the overheat protector.
- Temperature-rated parts. Cables and fittings high in a sauna need high temperature ratings; two manufacturers cite 170 °C, one for cabling above 1000 mm. One manufacturer places the junction box no more than 500 mm above the floor.
- Commercial extras: door sensors, emergency call points or steam-stop switches wired to reception, and building-management interfaces. Check every device’s temperature rating against its position.
Plumbing considerations for steam
These are considerations only. Plumbing and drainage are designed and installed by a licensed plumber under AS/NZS 3500 and the manufacturer’s manual.
- WaterMark. Steam generators are listed in the WaterMark Schedule of Products; confirm the status of the selected model.
- Water supply: pressure range, isolation and backflow per the manufacturer and plumber. Water hardness matters; allow space and drainage for a softener where needed.
- Drain: generator discharge goes to a drain in the plant room, never into the steam room, with the discharge pipe falling away from the unit. Harvia’s automatic discharge valve drains and rinses for about five minutes after switch-off, at about 70 °C. Commercial blowdown can be near boiling and may need tempering or a blowdown tank.
- Permanent power to the generator. Automatic draining and flushing need power after the session ends, so the isolator should not double as the everyday on/off switch. Place and label it with that in mind.
- Steam pipe: maximum lengths differ by manufacturer, from about 5 m to about 18 m in the manuals reviewed. Harvia allows up to 10 m of well-insulated pipe and prefers the generator as close as possible. Plan a short, insulated route with continuous fall and no low points.
- Combi heaters. A sauna heater with a water-connected evaporator needs a floor drain in the sauna or washroom in case of leaks (Harvia Virta Combi).
- Steam outlet: low on the wall, away from seating and traffic, at the height the manufacturer specifies.
Ventilation coordination
- Sauna: manufacturer layouts differ materially — supply low under the heater or high above it, exhaust low or high — and air-change targets differ: Harvia asks for about six an hour, and Finnish guidance gives about three to six. Harvia, for example, requires a door gap of at least 100 mm and mechanical extraction where the sauna exhausts through a washroom. Follow the selected heater’s manual rather than a generic scheme; sauna ventilation explained sets out the principles.
- Steam: generator sizing depends on whether the room is ventilated. One manufacturer requires mechanical ventilation in public steam rooms.
- Building interface: agree exhaust destinations with the HVAC engineer — not into ceiling voids — plus make-up air, plant-room cooling and humidity control in adjoining spaces.
Plant space and access
- A dry, ventilated, lockable space close to the steam room, away from pool-chemical stores. Harvia asks for a dry indoor space that cannot freeze, ventilated if the generator sits in a cabinet.
- Ambient temperature limits apply: Harvia sets 30 °C maximum around the unit; other makers allow 35 °C or more. A Queensland roof space fails all of them.
- Floor drain in the plant room, but not directly under the generator: Harvia notes that rising steam wets the unit.
- Service clearances per the model drawing; one commercial range recommends about 610 mm around the unit.
- Access panels for drain valves, water-level sensors, sediment traps, steam pipe unions, softeners and contactor boxes. On Harvia generators the user empties the sediment cup, cleans the level sensor and descales, and the overheat reset sits at the end of the unit under its cover, so all of these need to be reachable.
- Commercial duty. Steam generators are chosen by duty cycle (hours a day, continuous or intermittent), not only by room size. Harvia asks for a full service at least twice a year for generators in community or institutional use, which is only practical with clear access.
- Delivery route: doors, stairs and corridors wide enough for heaters, generators and glass.
Penetrations
- Sauna: keep the foil continuous and taped around every cable, vent, light and tap. Never fit a tap or sprinkler over the heater.
- Steam: every penetration through the vapour-control layer — steam outlet, sensor, lights, drain, valves and door frame — must be vapour-tight, with corrosion-resistant fittings and lights rated for wet conditions.
Who typically does what
Responsibilities vary by contract, and who acts as the specialist, and what they carry, differs from project to project. This is a typical split of trade roles, not a fixed scope. A structural engineer and fire engineer join where loads or building class require.
| Task | Designer | Specialist | Builder | Electrician | Plumber | Waterproofer | HVAC | Certifier |
|---|---|---|---|---|---|---|---|---|
| Concept layout and finishes | Lead | Advise | — | — | — | — | — | NCC pathway advice |
| Equipment selection and sizing | Input | Lead | — | Supply check | Water and drain check | — | Ventilation check | — |
| Rough-in drawings | Coordinate | Lead | Implement | Review | Review | — | Review | — |
| Framing and reinforcement | Document | Specify | Lead | — | — | — | — | — |
| Sauna insulation, foil and lining | Specify | Lead or supervise | Support | — | — | — | — | — |
| Steam board and membrane | Specify | Specify system | Substrate | — | — | Lead | — | Inspect if required |
| Fixed wiring and isolation | — | Provide data | Coordinate | Lead | — | — | — | — |
| Water, drainage and blowdown | — | Provide data | Coordinate | — | Lead | — | — | — |
| Ventilation to building | Coordinate | Room needs | — | — | — | — | Lead | — |
| Doors and glazing | Specify | Advise | Install | — | — | — | — | — |
| Commissioning and handover | Witness | Lead | Support | Test | Test | — | Balance air | Final inspection |
In Queensland, most building work valued over $3,300 (labour and materials) requires a QBCC-licensed contractor, and some work, including plumbing and drainage, needs a licence at any value. Waterproofing is a separate QBCC licence class, and electrical work must be done by a licensed electrician. Confirm the licences the project needs with the QBCC.
Compliance and licensed trades
The NCC 2022 wet-area provisions (the edition in force in Queensland at the time of writing) cover bathrooms, showers, laundries and similar rooms; they do not name saunas or steam rooms. How a steam room is classified, whether AS 3740:2021 Waterproofing of domestic wet areas applies, and whether a Performance Solution is needed are questions for the building certifier, and are best raised at design development. Fire separation, accessibility and glazing in commercial buildings are also certifier matters. Overseas details and North American figures are design references, not Australian requirements. Electrical and plumbing work must be designed and installed by licensed trades following the manufacturer’s instructions.
Design-stage checklist
Concept
- Use: domestic, multi-residential amenity, or commercial and attended.
- Capacity, bench length and accessibility needs.
- Room type — sauna, steam or both — and adjacency to showers, cool-down and plant space.
- Specialist engaged.
Design development
- Heater or generator nominated, and its current manual obtained.
- Clear height checked against the model minimum and maximum.
- Wall, ceiling and floor build-ups chosen; finished internal dimensions set out.
- Framing timber and termite management agreed with the builder and certifier for the whole building.
- Door model chosen; rough opening set from its frame size and the planned under-door gap.
- Glass, tile and masonry areas known for equipment sizing.
- Loads issued to the structural engineer: heater and stones, tiled benches, glass.
- Steam ceiling slope and floor set-down for falls and drains.
- Drain positions: in the room, at the threshold if needed, and in the plant room.
- Plant space sized for clearances, access, cooling and a floor drain.
- Steam pipe route within the manufacturer’s maximum length.
- Ventilation positions per the equipment manual; HVAC interface agreed.
- One heater per sauna room checked against the selected heater’s manual; power or contactor unit position allowed if the output needs one.
- Sensor and control-panel positions taken from the equipment drawings; door switch allowed for if remote or timer start is wanted.
- Commercial heating-time limits and duty cycle agreed with the operator.
- Electrical: supply capacity, circuits, isolation, controller and contactor positions, sensor conduits, alarm wiring — confirmed by the electrician.
- Plumbing: pressure, softener, backflow, discharge temperature and the auto-drain route to the plant-room drain — confirmed by the plumber.
- Door swing, hardware, glazing and threshold or gap strategy.
- Lighting and devices rated for their temperature and humidity zone.
- Certifier consulted on the wet-area pathway.
- Specification assembled from adjacent worksections plus a specialist section.
Before linings
- Shop drawings approved.
- Framing, noggins and backing checked against the equipment set-out.
- Rough-in inspected: conduits, drains, steam pipe, vents and sensor positions.
- Vapour-control layer and membrane hold points agreed, including flood testing where required.
- Sauna foil checked before battens: foil side to the room, joins overlapped, every seam and penetration taped, bottom edge taped to the waterproofing.
Handover
- Commissioning and settings recorded.
- Operation and maintenance manuals, warranties and certificates collected.
- Operator training completed.
How we approach it
If you are at concept or design development, we can review your plans, size and select provisional equipment from manufacturer data, and pass on the equipment requirements your consultants need. Talk to us before framing and we can help the room come together cleanly.